RV Bathroom Remodel: A Comprehensive Guide to Transforming Your Tiny Bathroom
The RV bathroom. A small space with big challenges. Often cramped, poorly ventilated, and showing signs of wear and tear, it can be the least favorite part of your RVing experience. But it doesn’t have to be. With careful planning and the right approach, you can transform your RV bathroom into a luxurious and functional oasis, no matter your budget or skill level.
Planning Your RV Bathroom Remodel
Before you even think about demolition, meticulous planning is crucial for a successful RV bathroom remodel. This phase will determine the success and cost-effectiveness of your project. Here’s what to consider:
1. Defining Your Needs and Budget
What are your must-haves? A larger shower? More storage? A new toilet? A more modern aesthetic? Be realistic about your needs and budget. Setting a clear budget upfront prevents costly overruns and helps prioritize upgrades.
2. Assessing the Existing Bathroom
Thoroughly inspect your current bathroom. Note the condition of plumbing, electrical wiring, walls, flooring, and fixtures. Are there any signs of water damage? Identify potential problems early on to avoid unexpected expenses during the remodel.
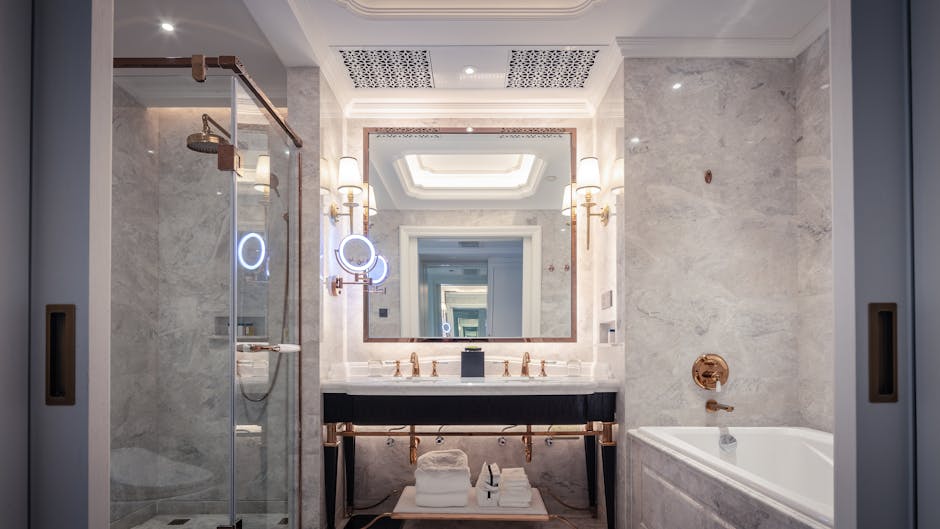
3. Choosing a Design Style
From rustic farmhouse to sleek modern, the design style sets the tone for your remodel. Browse online resources, magazines, and RV shows for inspiration. Consider the overall style of your RV to maintain consistency.
4. Selecting Materials
Material selection significantly impacts the look, durability, and weight of your RV bathroom. Consider these factors:
- Lightweight materials: RV’s have weight restrictions, so opt for lightweight materials like fiberglass, acrylic, or composite wood.
- Moisture resistance: Choose materials that can withstand the humidity of a bathroom environment, preventing mold and mildew growth.
- Durability: Select durable materials that can withstand daily wear and tear.
- Easy maintenance: Consider materials that are easy to clean and maintain.
The Remodel Process: A Step-by-Step Guide
Once your plan is in place, it’s time to start the actual remodel. This is a multi-step process that requires careful attention to detail. Always prioritize safety and follow all manufacturer’s instructions.
1. Demolition and Clean-up
Carefully remove existing fixtures, walls, and flooring. Protect surrounding areas from damage. Properly dispose of waste materials according to local regulations.
2. Plumbing and Electrical Work
This is best left to professionals unless you have significant experience. Improper plumbing and electrical work can lead to serious safety hazards. Ensure all work meets relevant codes and regulations.
3. Wall and Floor Installation
Install new walls and flooring, ensuring proper moisture barriers and insulation. Consider using moisture-resistant materials such as marine-grade plywood or composite panels.
4. Fixture Installation
Install your new toilet, sink, shower, and any other fixtures. Double-check all connections for leaks and proper functionality.
5. Finishing Touches
Add finishing touches like caulking, painting, and lighting. Pay attention to details such as grout, sealant, and ventilation to ensure a watertight and well-ventilated space.
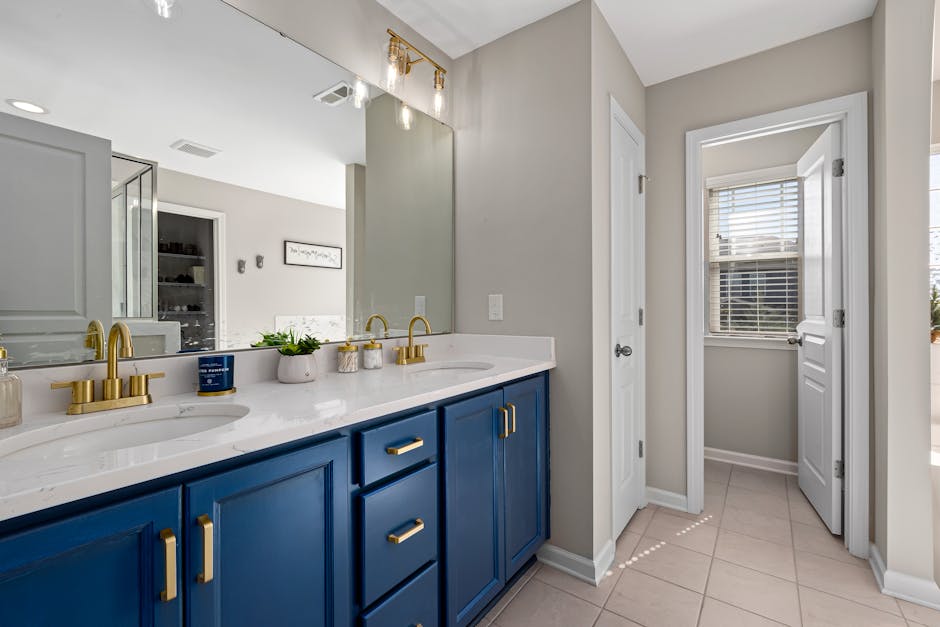
Choosing the Right Fixtures and Accessories
Selecting the right fixtures and accessories can make a big difference in the overall look and functionality of your RV bathroom. Here are some key considerations:
1. Low-Flow Fixtures
Conserving water is crucial in an RV. Opt for low-flow showerheads, faucets, and toilets to minimize water usage.
2. Space-Saving Designs
Maximize limited space with compact sinks, toilets, and shower units. Consider corner sinks or wall-mounted toilets to save valuable floor space.
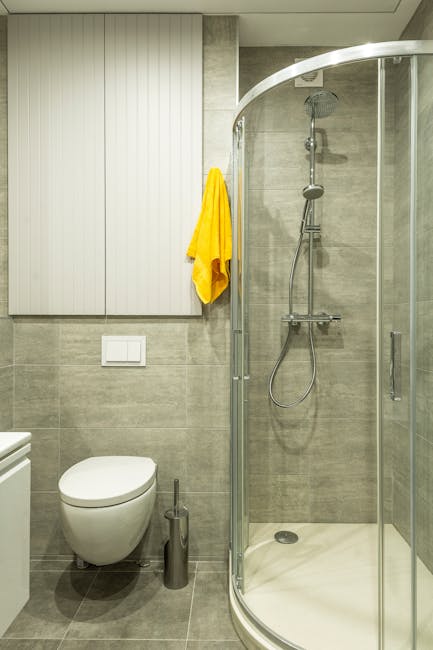
3. Ventilation
Adequate ventilation is essential to prevent mold and mildew growth. Install a vent fan or window to promote air circulation.
4. Storage Solutions
Utilize every inch of available space with clever storage solutions. Install shelves, cabinets, and drawers to keep your toiletries and essentials organized.
Common RV Bathroom Remodel Mistakes to Avoid
Many RV owners make mistakes during their bathroom remodels. Avoiding these common pitfalls can save you time, money, and frustration:
- Underestimating the cost: Accurate budgeting is crucial. Unexpected expenses can derail the entire project.
- Ignoring weight limitations: Overlooking weight restrictions can lead to handling and stability issues.
- Choosing inappropriate materials: Selecting materials that are not moisture-resistant or durable can lead to costly repairs later.
- Poor planning: Lack of planning can lead to design flaws and installation problems.
- Not considering ventilation: Inadequate ventilation can lead to mold and mildew growth.
DIY vs. Professional Help
Whether you undertake a DIY remodel or hire professionals depends on your skills, experience, and available time. Simple upgrades like replacing fixtures might be DIY-friendly. However, complex projects involving plumbing and electrical work are best left to qualified professionals.
Conclusion
Transforming your RV bathroom doesn’t have to be a daunting task. With careful planning, the right materials, and a step-by-step approach, you can create a luxurious and functional space that enhances your RVing experience. Remember to prioritize safety, budget wisely, and don’t hesitate to seek professional help when needed.
